Using AWS's new AWS Backups tool to backup PHP/Mysql websites on Idealstack
Idealstack • January 23, 2019
configurationAWS have released a new tool, AWS Backup, which is quite useful for backing up PHP-based websites hosted on Idealstack or any other solution that uses EFS for file storage (eg most of AWS’s reference architectures for platforms such as Wordpress use EFS as well). Until recently backup was a feature missing from EFS and you were forced to implement your own solutions for backing up EFS data. Now that there is an official solution from AWS we recommend this over our previous solution of using Duplicity to backup to S3
There’s a lot of benefits of using AWS Backup over a roll-your-own solution like duplicity:
- It takes a snapshot of the data, so things will be consistent
- It doesn’t slow down or interrupt the operation of your filesystem and database while the backup is happening
- It’s a solution managed by AWS, so you can be more confident it won’t break (which is a big problem with backups!)
- For services like RDS which already had good solutions for backup, AWS Backup lets you have all your backups in one place which makes them easier to manage and easier to verify that they’re configured how you want. AWS Backup still uses the same methods the service itself uses (eg RDS Snapshots) so you can still access your AWS Backups directly within RDS itself as well as through AWS Backup
In this article we walk you through setting up backups in AWS Backup and the process of restoring backups for stacks managed Idealstack. The same steps should also work if you don’t use Idealstack, with a few small tweaks.
Setup AWS Backup
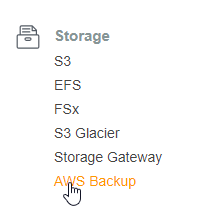
First go to AWS Backup in the AWS menu. Make sure you do this in the same AWS region that your stack is in.
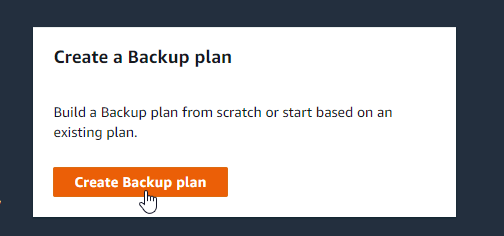
And create a new backup plan
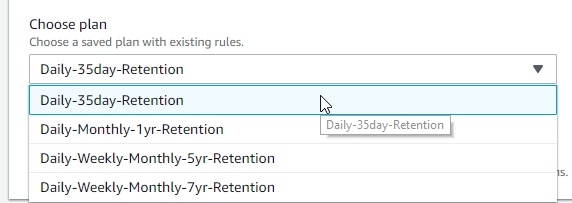
On the next screen you are asked to choose the times and retention policies for your backups. It’s easiest to start from AWS’s examples

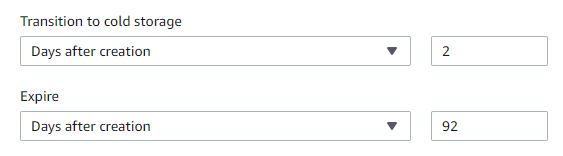
For backing up EFS volumes like Idealstack uses, cold storage is a fifth of the price of warm storage (see the pricing). So unless you restore your backups a lot I prefer to edit the plan and change to use cold storage after 2 days (I find that 99% of the time when you restore a backup you want the most recent backup)

Now you need to assign resources to be backed up.
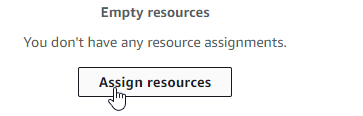
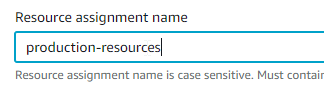
If you have your own stack you need to think about what resources you backup, but if you use Idealstack it is fairly simple - all your data is stored on EFS (for files) and RDS (for databases). So click Assign Resources. Then give your resource assignments a name

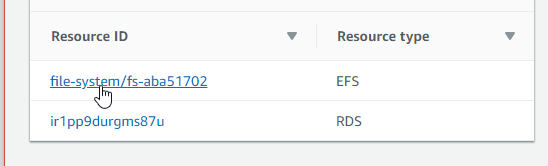
Now under the assign resources section, select the EFS and RDS resources
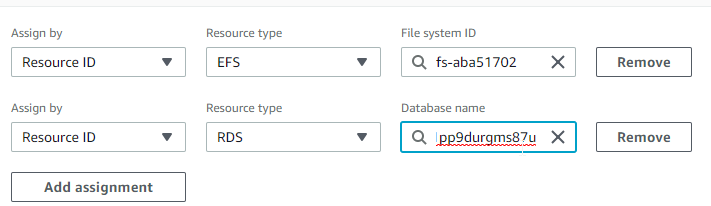
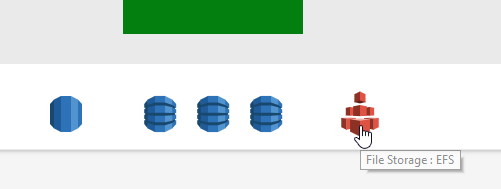
If you have multiple stacks, it may be hard to find the resource ids - you can get these from the Stack Layout under the Status tab for your stack in Idealstack. Clicking the RDS and EFS icons in this layout will take you to these resources in AWS

Obviously, if you use other resources like DynamoDB managed outside of Idealstack you may also want to add these here.
Then click ‘Assign Resources’ to save


Restoring Backups
To restore a backup, go to ‘Protected Resources’ and find the resource you want to restore. Depending on what was deleted this could be either EFS (if you need to restore a file) or RDS (if you need to restore data out of the database)
To restore an RDS Database
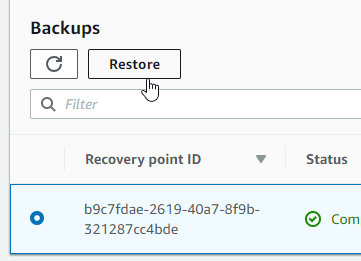
Click on the RDS resource under Protected Resources and choose the backup you want to restore


Then click the _Restore _button


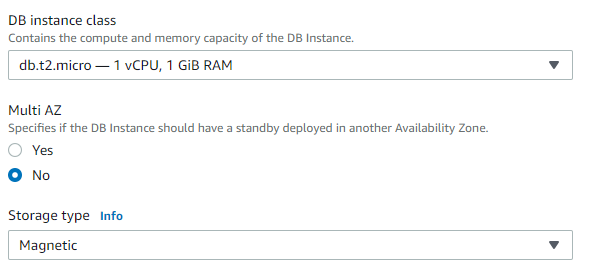
This process will create a new database instance based on the original. Most of the defaults on the next screen are sensible, except that because this database is only temporary and you are going to destroy it when you are finished with it, most of the time it makes sense to tweak the instance class, storage type and multi-az settings to cheaper options:
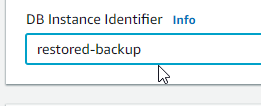
Give it a name

Under the subnet group and VPC settings, make sure you select the VPC for your stack - copy what is set for the original instance

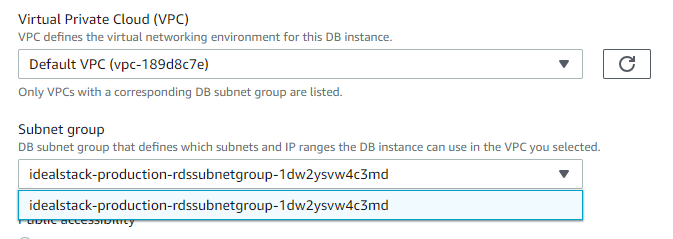
Then click Restore Backup


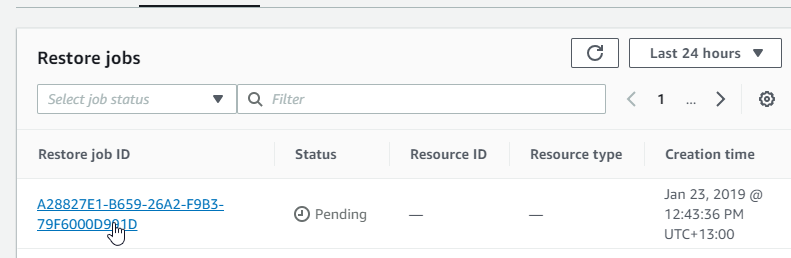
Now you will see the restore job happening

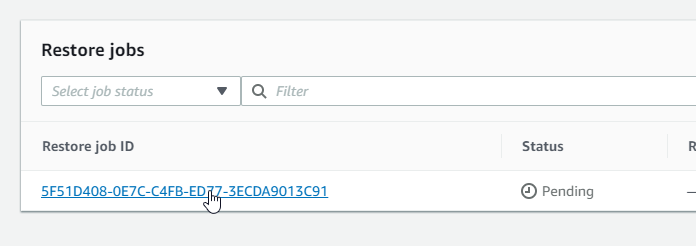
Wait for this restore job to complete
Copy databases or data back to your production site
Go to the RDS console and find the restored database instance.
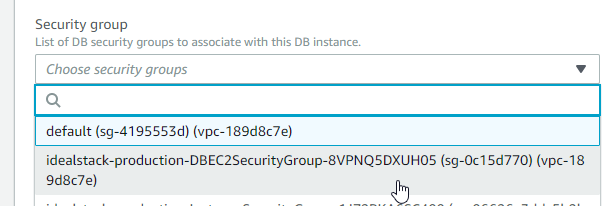
First you must modify it to use the correct security group. Match the one in use by your live database

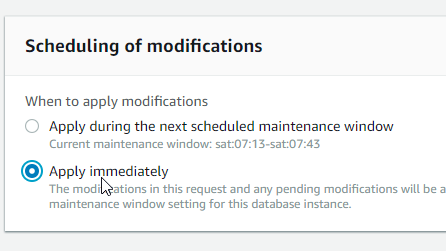
And on the next screen make sure you select Apply immediately
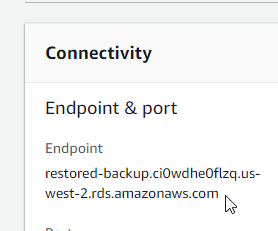
Then find the endpoint for your restored database

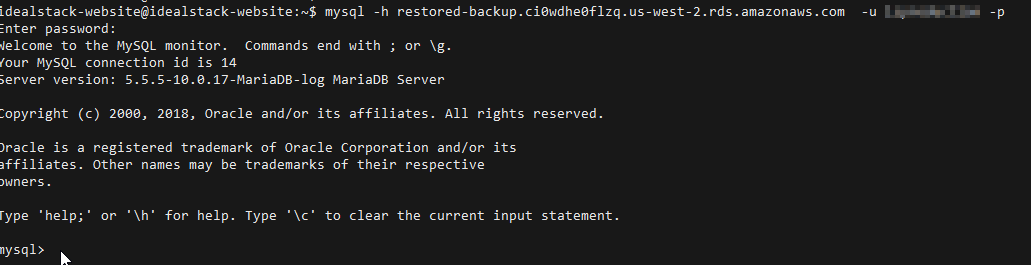
Now SSH to one of your sites in idealstack.
You should be able to connect to your database using the username and password of your live database (you can find this in the Stack in idealstack)
Depending what you are trying to achieve you may now want to move this data to your live server. You can do this with mysqldump. For instance like this (replace the users/databases/hostnames with your ones)
mysqladmin -h yourdatabase -u youruser -p create restored_database

 mysqldump  -h restored-backup.ci0wdhe0flzq.us-west-2.rds.amazonaws.com  -u youruser-p yourdatabase | mysql -h yourdatabase -u youruser -p restored_database
Once you are finished with the temporary restored instance, delete it in the RDS console so you don’t need to keep paying for it
Restoring Files from the EFS
Under the ‘Protected Resources’ screen click on your EFS

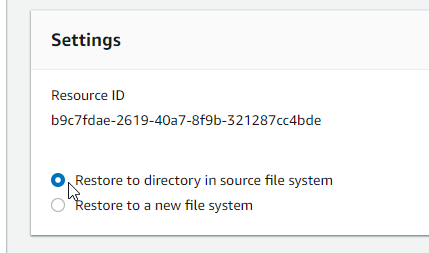
Choose the recovery point you want to restore and click Restore

On the next screen ensure ‘Restore to directory in source file system’ is selected

Now wait for the restore job to complete

Note: at the time of writing this, the restore jobs are inexplicably slow - taking over an hour to complete even with only 25GB of data in my tests. Perhaps this is due to the new nature of the service and may improve.
Copying the files back to your production site
Now you need to restore the files from the subdirectory on the EFS that they were restored to. To do this you need to login to one of your EC2 instances and copy the files
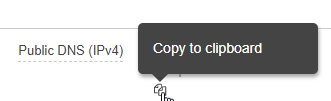
Under EC2 find your instance and copy it’s Public DNS

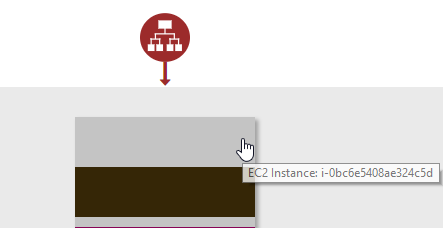
If you have a lot of instances, In Idealstack you can find this in the Stack Layout under Stack Status - clicking the instance will take you directly to it in the AWS console.

Once you’ve done this SSH to the instance as the user ‘ec2-user’. Note that if you have ssh’d to this machine before it’s host key may have changed causing ssh to give you an error. Editing ~/.ssh/known_hosts or running ssh -R
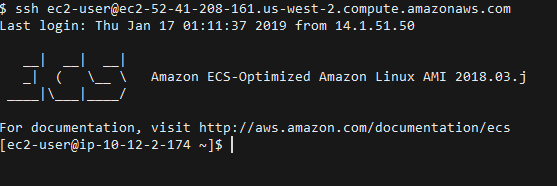
The EFS is mounted under /mnt/efs
_ _
_
You will find the restored data under a new directory with a name like ‘aws-backup-restore-$restore_date’ eg like so:


You can poke around in here to see the data included in the restore.
If you want to restore the files of an individual site, use rsync to copy them back. First install rsync (it isn’t included by default)
sudo yum install rsync
Idealstack uses a data structure on the EFS that puts each site’s files into a directory under ‘idealstack-sites/raw/’
To restore the files of an individual site into a subdirectory within that site use something like this:
rsync /mnt/efs/aws-backup-restore_2019-01-23T00-34-14-054Z/idealstack-sites/raw/8600219472084598811/ /mnt/efs/idea lstack-sites/raw/8600219472084598811/restored-data
The long number 8600219472084598811 is the site id. You can find it by editing the site in idealstack and copying it out of the url (eg https://app.idealstack.io/sites/8600219472084598811/edit). Of course if you just want to overwrite everything with the data from the backup (are you sure? This is often not a good idea) then use
rsync /mnt/efs/aws-backup-restore_2019-01-23T00-34-14-054Z/ /mnt/efs
Harness the power of AWS for hosting PHP-based websites and apps.
Idealstack is a powerful hosting console that creates a modern, autoscaling,
best-practice, AWS-native hosting cluster for PHP-based code in your AWS account